
TL;DR:
- Choosing the right cleat type ensures safety and reliability when handling lines on a sailboat. Proper installation with through-bolts and backing plates prevents failure, while regular inspection maintains cleat integrity. Correct line handling techniques like figure-eight wraps secure lines effectively, reducing the risk of slip or release.
A sailing cleat is one of those fittings that looks deceptively simple until something goes wrong. Many sailors assume any cleat will do the job, regardless of load, line size, or position on the boat. That misunderstanding leads to wobbly fittings, lost control of sheets mid-tack, and mooring lines that slip at the worst possible moment. This guide covers what every cleat type actually does, how to fit them properly, how to use them safely, and how to keep them working reliably for years on the water.
Tabla de Contenidos
- Key takeaways
- Types of sailing cleats and what they do
- Sailing cleat installation: how to get it right
- How to use sailing cleats for secure line handling
- Cleat maintenance and troubleshooting
- My honest take on cleat choices
- Sail in confidence with Sphynxbcn
- FAQ
Key takeaways
| Point | Details |
|---|---|
| Cleat type determines function | Horn, cam, clam, jam, and folding cleats each serve specific roles in mooring, sail control, and rigging. |
| Installation method matters most | Through-bolting with backing plates prevents structural failure far more reliably than simply tightening screws. |
| Line size must match cleat design | Mismatched rope diameter causes slipping or jamming under load, especially during sail manoeuvres. |
| One cleat per line improves safety | Assigning a dedicated cleat to each control line reduces confusion and delays during critical moments. |
| Regular inspection prevents failure | Re-bedding with marine sealant and checking mounting integrity stops small problems before they become dangerous ones. |
Types of sailing cleats and what they do
The word “cleat” covers a surprisingly wide range of hardware, and each type has a specific job. Choosing the wrong one for a task is not just inefficient. It can be genuinely unsafe.
Horn cleats are the classic T-shaped fittings you see on docks and on the bow and stern of most sailboats. Horn cleats act as dedicated attachment points that keep a line under load using their curved horns as wrap points. They are the standard choice for mooring lines and halyards you want to tie off completely.
Cam cleats use two spring-loaded serrated jaws that grip a line when it passes between them. They are designed for control lines that need to be adjusted frequently, such as sheets and traveller controls, because you can release them instantly with a sharp upward pull. They are not suited to permanent load-bearing duties.
Clam cleats work on a similar principle to cam cleats but use a fixed V-groove channel rather than sprung jaws. They are lighter and simpler but require more deliberate effort to release. You will find them on small dinghies and racing boats where weight and simplicity matter.
Jam cleats are a refined version of the clam design, shaped to lock a line more positively under increasing load. They are popular on control lines where you want the line to hold firm under tension but release cleanly when you ease it.
Folding cleats solve a specific problem on charter boats and cruising yachts where deck clutter is a concern. Folding cleats include positive locking with audible clicks and fold flat to remove trip hazards when not in use, without sacrificing holding strength when deployed.
| Cleat type | Best use | Key advantage | Limitation |
|---|---|---|---|
| Horn cleat | Mooring, halyards | Simple, bombproof | Fixed. requires cleat hitch |
| Cam cleat | Sheets, control lines | Fast release | Not for permanent loads |
| Clam cleat | Dinghy control lines | Lightweight, simple | Harder to release under load |
| Jam cleat | Running rigging | Holds under tension | Less intuitive to release |
| Folding cleat | Charter, cruising decks | Low profile, safe | Added mechanical complexity |
Sailing cleat installation: how to get it right
Poor installation is the single biggest cause of cleat failure at sea. The cleat itself is rarely the weak point. The deck beneath it usually is.
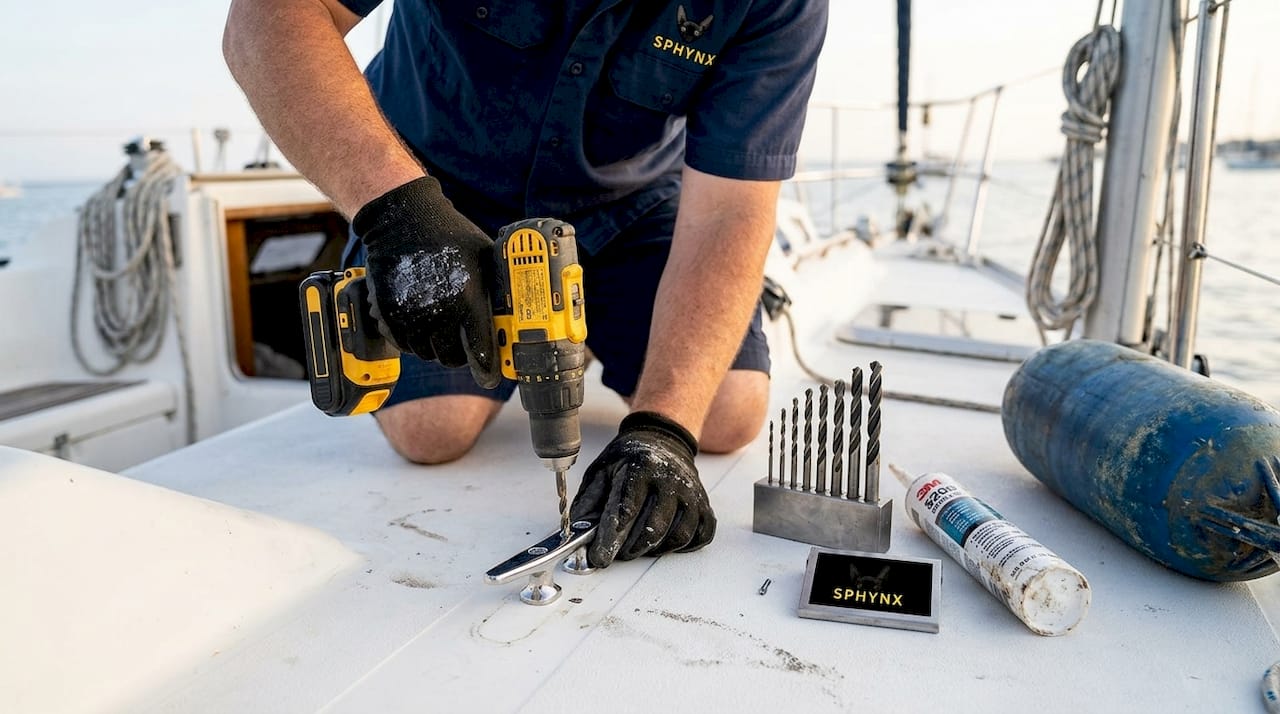
The core principle is straightforward. Any cleat that will carry significant load must be through-bolted with a backing plate on the underside of the deck. Four-bolt cleats can effectively become one-bolt cleats when fasteners lose their grip in wet or foam-cored deck sections. A backing plate spreads that load across a wider area of the laminate, which is the only reliable way to prevent pull-out under shock loading.
Here is what good installation practice looks like in concrete terms:
- Drill bolt holes slightly oversized, then fill them with thickened epoxy before re-drilling to the correct diameter. This seals the deck core from water intrusion.
- Use stainless steel bolts with large-area washers or a purpose-made backing plate on the interior side.
- Bed the cleat base with a flexible marine sealant such as Sikaflex or 3M 4200. Avoid rigid adhesives, which crack as the deck flexes.
- Torque fastenings evenly in a cross pattern, rather than tightening one bolt fully before moving to the next.
- Allow the sealant to cure fully before putting the cleat under load. Typically 24 hours minimum.
Common installation mistakes include using self-tapping screws into cored decks, skipping the backing plate to save time, and applying sealant only to the bolt threads rather than the full base of the fitting. High-load installations require through-bolts into solid structure to genuinely protect against fastener failure. There are no shortcuts worth taking here.
Pro Tip: Before drilling, press firmly on the deck surface where you intend to mount the cleat. Any give or sponginess means the core is already damp or delaminated. Address that structural issue first, or the best installation technique in the world will not save you.
How to use sailing cleats for secure line handling
Knowing how to tie off correctly is just as important as having the right hardware fitted. The two most useful techniques every sailor should know are the cleat hitch and the figure-eight wrap.
- Make the initial turn. Pass the line around the base of the cleat in the direction that loads the horn closest to the load source. This first turn takes most of the strain.
- Add figure-eight wraps. Cross the line in a figure of eight across both horns. Figure-eight wraps prevent slippage without jamming the line so tightly that it cannot be released under load.
- Finish with a locking hitch. For mooring lines or halyards you want fully secured, finish with a half hitch turned under itself. For sheets you need to release quickly, skip the locking hitch and rely on the figure eights alone.
- Test the hold before stepping away. Give the line a firm tug in the direction of load. If the cleat moves at all, the mounting needs attention before you trust it.
Line size matters more than most sailors realise. Cam and clam cleat jaw geometry is tuned for narrow diameter ranges from 2mm to 32mm, and using a line outside that range gives you neither grip nor easy release. Check the cleat manufacturer’s recommended range and match your sheets and control lines accordingly.
One of the most useful upgrades on any sailboat is dedicating a separate cleat to each control line. Grouping multiple lines on one cleat creates confusion and delays under pressure, particularly during tacks and gybes when speed and clarity matter most. Assigning individual cleats per control line simplifies operations and makes the boat genuinely faster and safer to handle.
Pro Tip: Colour-code your control lines and match them to labelled cleats at the mast base and cockpit. It sounds like an extra step, but after one confused gybe with a guest on board, you will never go back to an unlabelled rig.
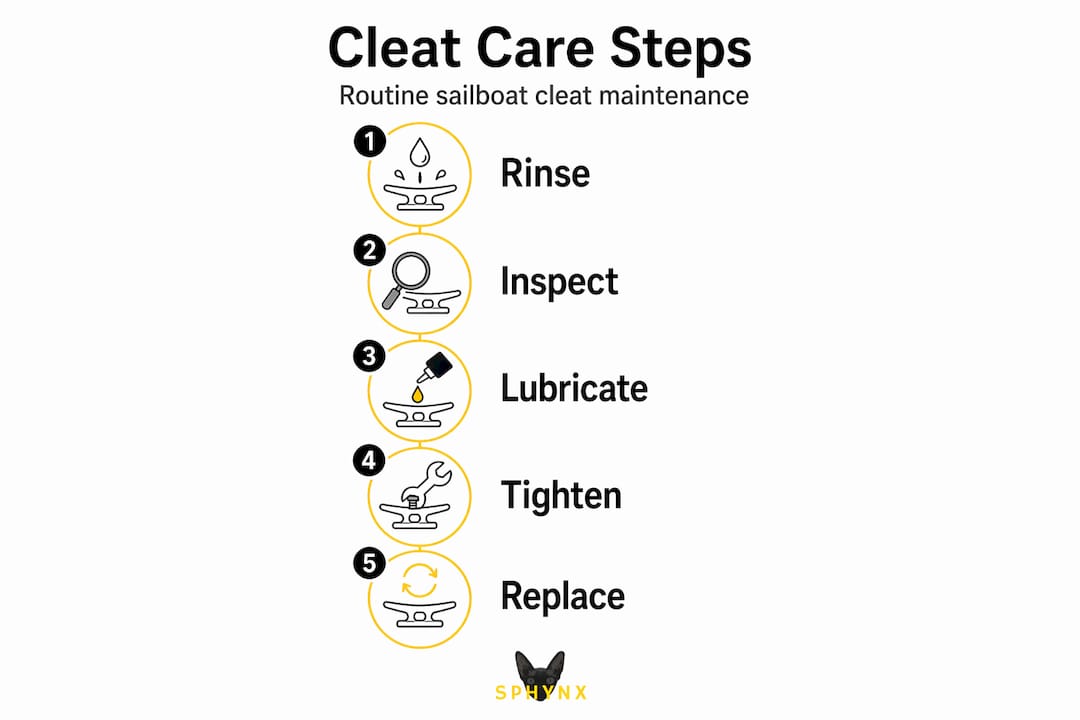
Cleat maintenance and troubleshooting
Cleats are low-maintenance hardware, but they are not zero-maintenance. Saltwater, UV exposure, and the constant micro-movement of a flexing deck all degrade both the fitting and the mounting over time.
The most important habit is the weekly wobble test. Grip each cleat firmly and try to rock it. Any movement at all means the mounting is compromised. A cleat that wobbles due to backing failure can cause sudden loss of line control, which in a mooring or sail-handling situation can go wrong quickly.
Common symptoms and what they mean:
- Cleat rocks on the deck. Fasteners have pulled through or the backing plate has shifted. Remove, inspect, and re-bed.
- Line slips under load. Either the cleat type is wrong for the line diameter, or the cam/clam mechanism is worn. Check jaw condition and replace if the serrations are smooth.
- Corrosion around the base. The bedding sealant has failed and water is getting under the fitting. Re-bed before the deck core deteriorates further.
- Cleat holds but line is difficult to release. The line diameter is too large for the cleat design, or the wrap count is too high. Reduce wraps or switch to a larger cleat.
For routine maintenance, rinse cleats with fresh water after every sail in salt conditions. Inspect the base bedding every season. Re-bedding fittings with marine sealant and checking torque after curing ensures long-term reliability without expensive deck repairs down the line.
Stainless steel cleats hold up well in Mediterranean conditions, but even grade 316 stainless will pit if left without rinsing for extended periods. Aluminium cleats anodised for marine use are lighter and corrosion-resistant, though they are less common on performance boats. Nylon and glass-reinforced polymer cleats are entirely adequate for light-load applications such as flag lines and secondary sheets.
My honest take on cleat choices
From my experience sailing and inspecting yachts across varying conditions, the most common mistake I see is treating cleat installation as an afterthought. Sailors will spend considerable effort choosing the right sail cloth or optimising their rigging, then bolt a cleat to a foam-cored deck with self-tappers and call it done.
What I have learned is that the hardware is almost never the failure point. The deck beneath it is. When you see a cleat that has pulled free, nine times out of ten the laminate around the bolt holes has been soft for months. Nobody checked because it looked fine from the outside.
The second thing I have noticed is how underrated a properly organised rigging and cleat layout actually is. On boats where every line has a dedicated cleat and everything is labelled, manoeuvres happen calmly and cleanly. On boats where three sheets share one cleat and nothing is obvious, even experienced crew hesitate. That hesitation has consequences.
My advice is simple: treat your cleats the way you treat your standing rigging. Inspect them systematically, re-bed them on a schedule, and match your line sizes to the hardware specification. A cleat that holds quietly under load for twenty years is doing its job perfectly. You should never have to think about it.
— Sphynxbcn
Sail in confidence with Sphynxbcn

Understanding cleat hardware is satisfying on its own terms. But there is real pleasure in sailing a yacht where all of that detail has already been handled properly by someone else. Every vessel in the Sphynxbcn fleet is maintained to professional standards, with correctly installed and regularly inspected fittings throughout. Whether you are looking for a private yacht tour along the Barcelona coastline or a fully crewed yacht charter experience tailored to your group, the hardware works because the team behind it takes it seriously. Explore what a well-equipped, expertly crewed sailing experience looks and feels like with Sphynxbcn.
FAQ
What is a sailing cleat used for?
A sailing cleat is a fixed fitting on a boat used to secure lines under load. Depending on the type, it holds mooring lines, halyards, or control sheets in position during sailing or when berthed.
What are the main types of sailing cleats?
The main types are horn cleats, cam cleats, clam cleats, jam cleats, and folding cleats. Each is designed for specific load types and line-handling situations on a sailboat.
How should a sailing cleat be installed?
A sailing cleat should be through-bolted with a backing plate on the underside of the deck and bedded with flexible marine sealant. Self-tapping screws into cored decks are not adequate for load-bearing cleats.
How do you tie a line to a cleat correctly?
Pass the line around the cleat base, add figure-eight wraps across both horns, and finish with a locking half hitch if you want the line fully secured. For sheets that need quick release, the figure eights alone are sufficient.
How often should sailing cleats be inspected?
Grip and rock each cleat before or after every sail to check for movement. Carry out a full re-bedding inspection at least once per season, or immediately if any wobble or corrosion is detected around the base.